What Should MSPs Actually Be Doing with AI in 2026?
Short answer: The question for MSPs in 2026 is no longer whether to use AI but where to focus. The real divide is between MSPs whose AI use is...


Enterprise-grade infrastructure with the flexibility MSPs demand
Perfectly tailored AI that knows your specific MSP

Build your own Shopify-like store with your PSA products & distributors
Have clients to submit tickets directly to your PSA, freeing up your team's time
Pre-triage and route tickets correctly with the help of AI

Deliver instant, accurate answers that can help achieve zero-touch resolution
4 min read

We’ve been getting quite a few questions from our partners asking about the best practices of setting up a company in CloudRadial. Let’s start by looking into what it means to add a company into CloudRadial, from initial additions to overall considerations once the company is created.
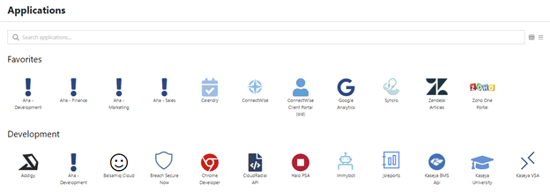
To begin the process of adding a company, you’ll head to Partner > Clients and use the + Add button at the top right to bring up the company addition screen.
There are three primary things to focus on here:
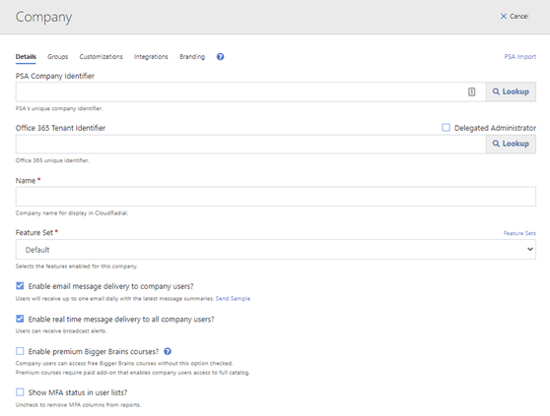
CloudRadial works best when you pull your user data from a source – either a supported PSA tool or Office 365. Ideally, you’ll connect both and enjoy a richer data experience that enhances functionality in ticketing, reporting, and other various areas.
More details: https://radials.io/SyncSettings
Deciding what the company will be able to access on the left-hand menus is critical to ensure you’re matching the right capabilities with the client’s needs.
More details: https://radials.io/FeatureSets
If you’ve set up your Partner > Content area with company groups, this is where you’ll wrap up the process. Adding the company you create to the relevant company groups is how CloudRadial distributes the appropriate content to the right company.
More details: https://radials.io/CompanyGroups
The unnamed features of the process above are optional and potentially useful (such as customer-specific branding). If you’re a CloudRadial beginner, stick to the basic functions mentioned above.
However, if you’re more advanced in your usage, consider going a bit deeper with this article that breaks down how each option works.
If you don’t already have a type mapping rule that takes care of admin delegation and exclusions for you, you’ll want to take care of this first.
Start to make sure you delegate your point of contact users as administrators. This should be your first step once the users are added in to avoid forgetting later.
Delegation is as straightforward as:
More details: https://radials.io/AdminAccess
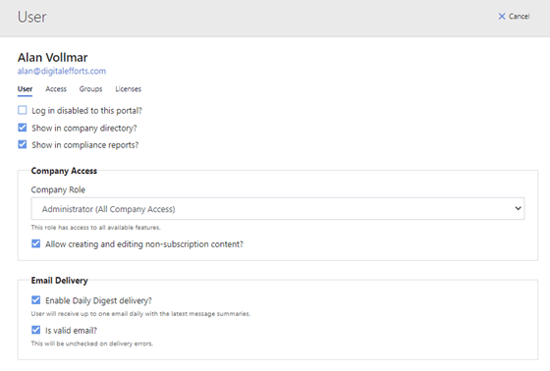
There are several ways to exclude users from the portal. Start by deciding who doesn’t belong in the portal first. Then, be sure to read this article on exclusions to learn which method (or a mix of methods) is suitable for you.
If you plan to use CloudRadial for its reporting capabilities – especially regarding compliance policies, warranty tracking, and general inventory – you’ll need to install the CloudRadial agent on machines for the client company.
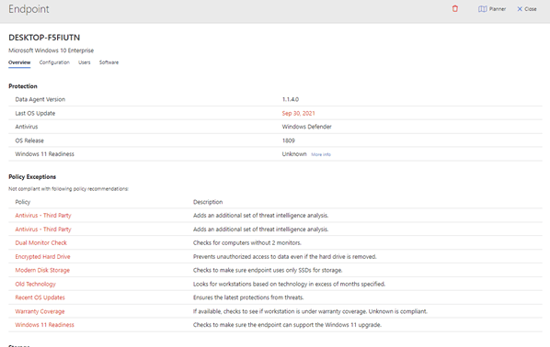
At this stage, you should build your plan to deploy the agent to these companies (with an RMM). There are several ways to do so but be sure to focus on the most scalable way to make it easy to repeat this process for new clients in the future.
These are key things to remember during this process:
More details on the agent installation process can be found here.
The first three steps are the essential basics you must complete to have a solid baseline. After that, you’re left with the task of organically allowing the company to deviate from the template that you have set.
That means allowing custom KB articles, tickets, courses and more to take place. Some clients will never need to deviate from the starting template, while others will need all-custom content to begin with.
Depending on your processes, be sure to:
After you’re happy with the portal, it’s time to have the users access it. CloudRadial can be accessed in three distinct ways:
The easiest method is the web-based portal since it simply requires giving the users a URL to your portal and instructions on how to log in (most commonly, though their existing O365 credentials).
Both the desktop app and Teams app do this better than the web portal, but they require more work on your end to get pushed to the customer. However, we see much better usage when the portal integrates organically with their existing work patterns.
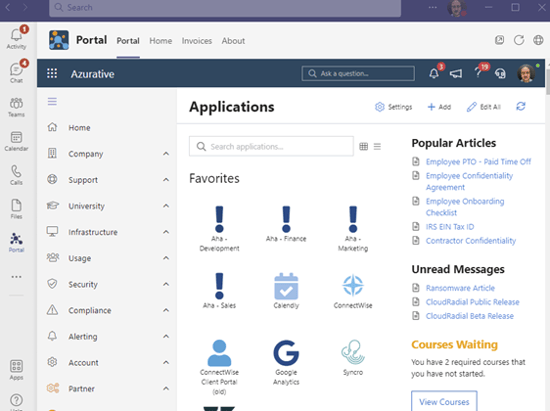
Details on how to install the desktop application can be found here. Also, the details for the Teams application can be found here.
Lastly, the step to adding a company to the portal is to make the process of being in the portal easier. We’ve developed a few resources ourselves that can be found in our Deployment Blueprint.
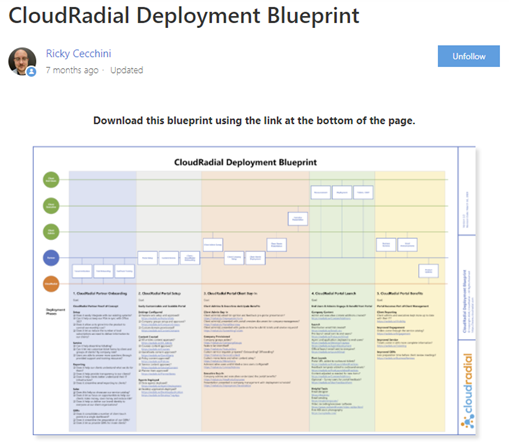
Check under columns 3 and 4 for the stock material. In truth, nothing beats guides and walkthroughs from you, the partner company. These materials will help grease the path to make your portal easier to adopt.
Having worked with thousands of MSPs, we have seen the steps mentioned above be the most common to ensure the successful addition of a new company from start to finish. However, everyone’s a bit different and there’s no precise way to tell when deviations will occur.
If you need help on deployment, never forget to submit a ticket to support@cloudradial.com. We’re here to help you get your portal set up properly and to get max usage from your clients.

Short answer: The question for MSPs in 2026 is no longer whether to use AI but where to focus. The real divide is between MSPs whose AI use is...
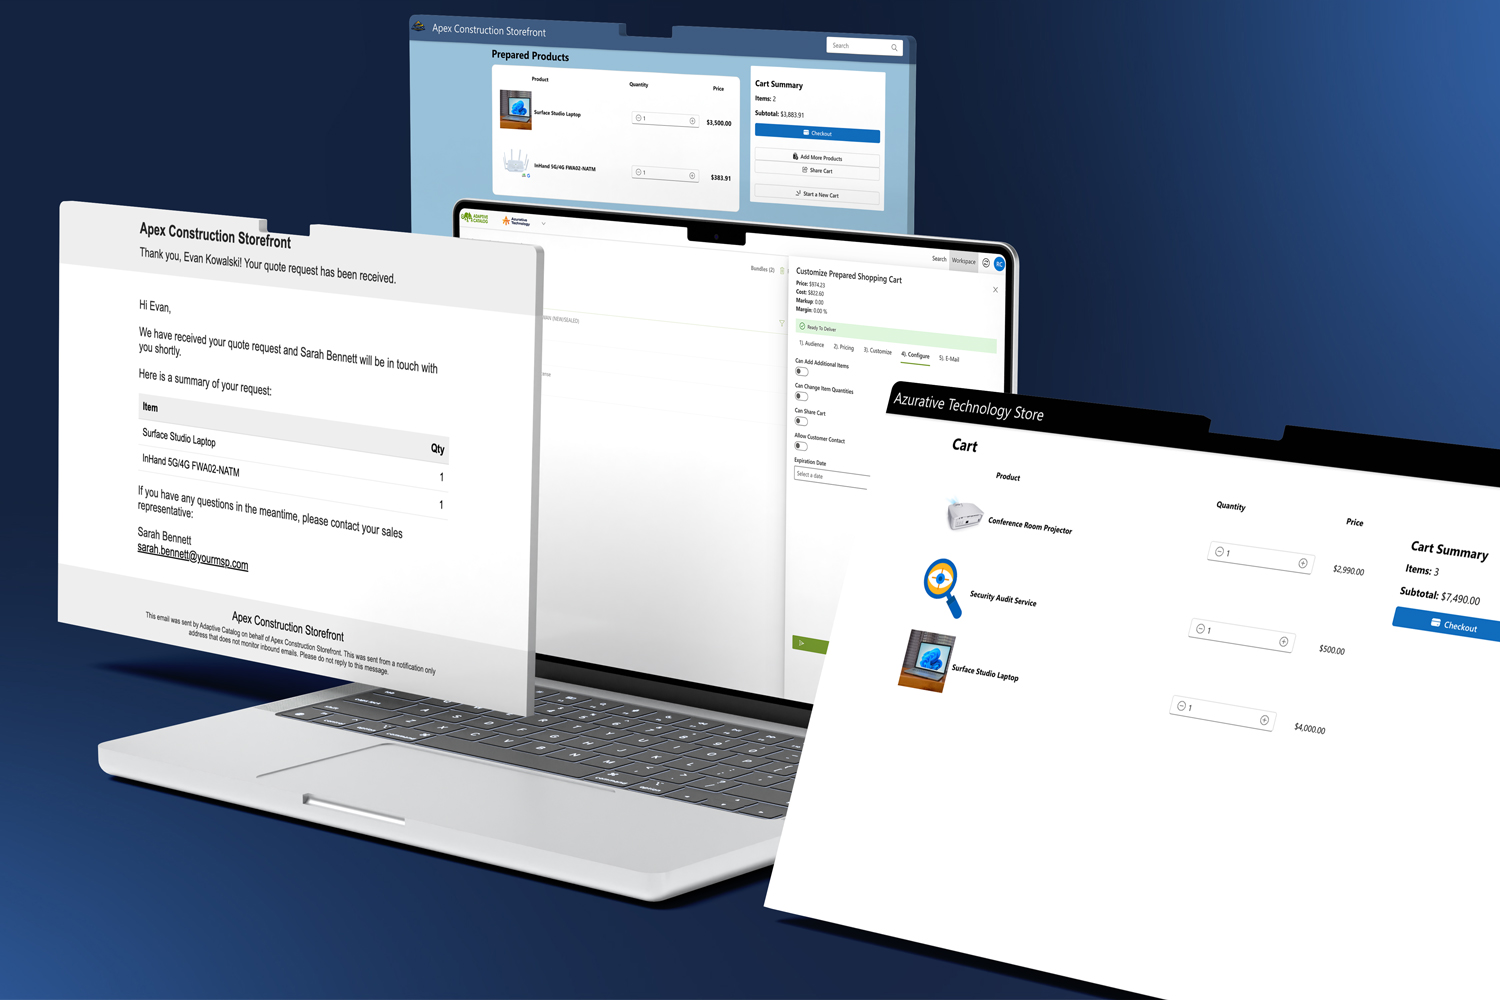
Quoting, approvals, and procurement — all inside your client portal. Explore CloudRadial Storefront →

During our webinar on Storefront updates, HaloPSA support, and what's coming next with no-touch procurement, attendees had some sharp questions. ...